
Viewer operations
The eight display modes and basic viewer controls
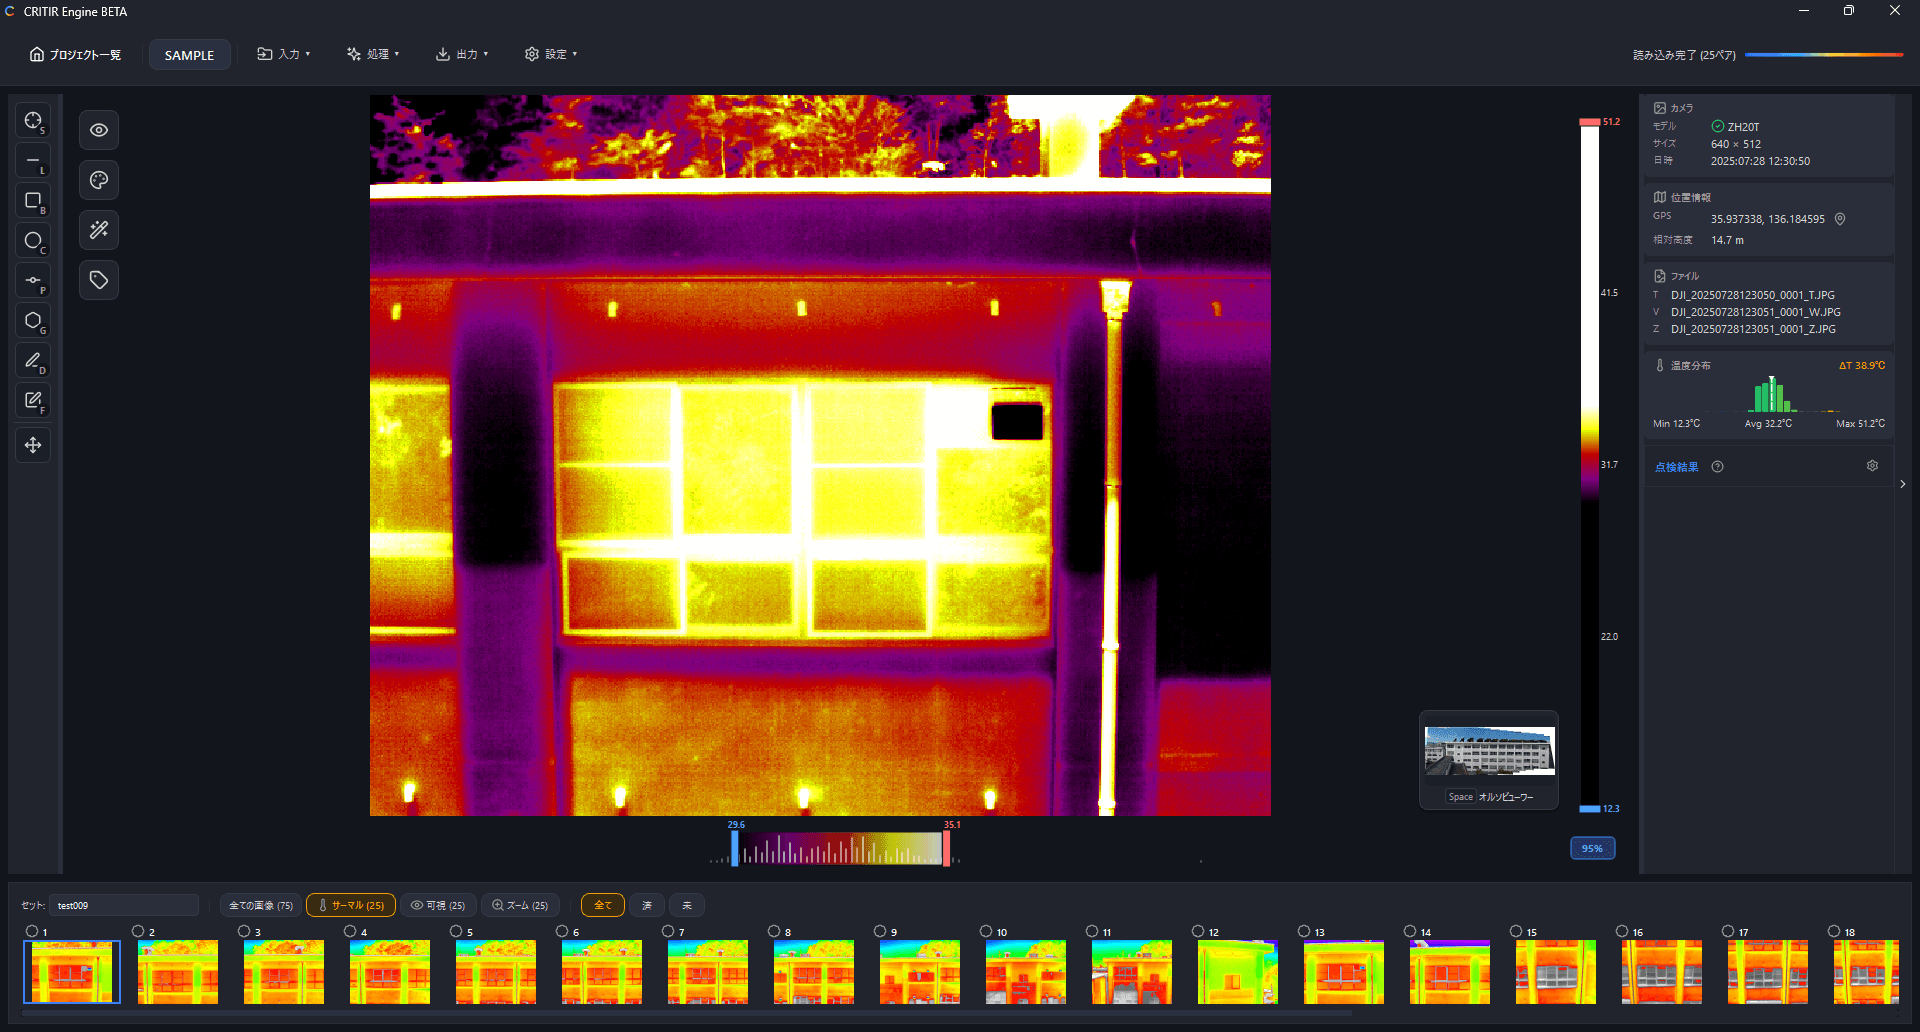
Basic controls
| Action | How |
|---|---|
| Zoom | Mouse wheel |
| Pan (move) | Middle-button drag, right drag, or left drag |
| Switch viewer | SPACE, or click the ortho minimap |
The eight display modes
Switch modes with the display mode button on the toolbar, or with keys 1–8.
| Key | Mode | Description |
|---|---|---|
| 1 | Infrared | Shows the infrared image alone. For temperature measurement and palette review |
| 2 | Visible Image | Shows the visible-light image alone. For checking appearance and getting oriented |
| 3 | Zoom Image | Shows a magnified portion of the visible image. For inspecting fine detail |
| 4 | Side-by-side | Shows infrared (left) and visible (right) side by side. Compare the same spot simultaneously |
| 5 | Swipe | Drag the handle to reveal infrared or visible. Switchable between horizontal and vertical |
| 6 | Picture-in-Picture | Overlays a small infrared window on the visible image. Drag the window to move or resize it |
| 7 | Overlay | Blends the infrared image over the visible image. Adjust opacity (0–100%) with the slider |
| 8 | Compare Mode | Compares infrared-to-infrared or visible-to-visible across different images. Shows the best pair based on automatically computed overlap ratio |
Fine-tuning alignment
Turn on the Fine-tune alignment button in the tool icon bar at the left edge of the window. The view switches to overlay and a panel opens for adjusting how the visible and infrared images line up, per image. Use it for images that the camera-model calibration alone does not fit, or that drift because of a different lens or shooting distance.
| Item | Description |
|---|---|
| Auto-align | Measures the offset between the visible and infrared images from the images themselves and corrects this image only |
| Resets the adjustment of this image | |
| Fine-tune manually | Buttons for moving up/down/left/right, rotating and scaling (the move step is switchable). The center button resets this image |
| Opacity | Opacity of the infrared layer in overlay display (0–100%) |
| Set-wide actions | Batch operations for every image in the set (see below) |
A badge at the top of the panel tells you whether the image is auto-aligned or manually adjusted.
Set-wide actions
| Button | Action |
|---|---|
| Auto-align | Measures and aligns every image in the set one by one. Manually adjusted images are left unchanged. Progress is shown as "Auto-aligning... (n/N)" and the run can be cancelled |
| Apply current values | Copies the adjustment currently shown to every image in the set |
| Undo auto-alignment | Removes only the adjustments that were set automatically. Manually aligned images are kept |
| Reset all | Clears the adjustments of every image in the set, automatic and manual alike |
For images whose offset cannot be measured (little texture, not enough matching edges, or a misfit that a shift cannot correct), the app reports "Auto-alignment is not possible" and leaves the values unchanged. Bring the images closer manually and try again.
The adjustments are stored per image and apply not only to the viewer but also to the overlays in reports, orthomosaics, 3D models and the HTML viewer.
Locking the display mode
Turn on the display mode lock button on the toolbar to keep the current display mode when switching images. When off, each image uses its own display mode.
The top-left corner of the view always shows the current photo number in the format 12 / 340 (current / total).
Locking the color map
The color map lock button next to it keeps the current color palette when you switch images.
When off, the color palette saved with each image is restored. Turn it on when you want to review a whole survey with one consistent palette.
Temperature scale in compare mode
In compare mode (8), a Temp scale selector appears on the toolbar. The temperature bar (bottom) and color bar (right) are shared by both sides, so this selector decides which image they control.
| Selection | Behaviour |
|---|---|
| Base image | The bars control the left (base) image. The right side keeps its own range |
| Compare image (default) | The bars control the right (compare) image. The left side keeps its own range |
| Shared | Both sides use the same temperature range and alarm thresholds |
Choose Shared for time-lapse or time-of-day comparisons that must share one temperature scale; switch between Base image and Compare image when you want to tune each side for readability.
Right after switching from Shared to Base image / Compare image, the compare image keeps the shared range as its starting point. Adjusting from there makes the two sides move independently.
Full visible display
Normally the visible image is cropped to match the extent of the infrared image.
Turn on Full Display to show the entire visible image without cropping.
Quick visible check (V key)
While V is held down, the view switches to the visible image; release it to return to the previous display mode.
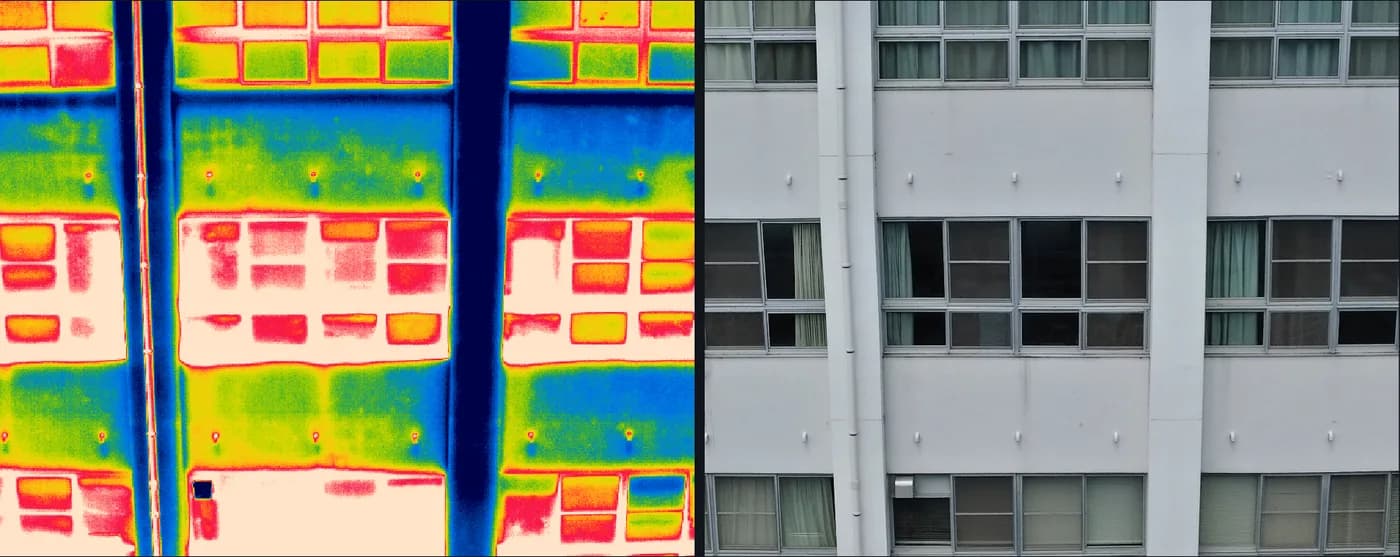
This lets you instantly judge — without changing display modes — whether a thermal anomaly is truly heat-related or just dirt or a reflection.
| Situation | Behavior |
|---|---|
| Normal | The main display mode shows the visible image only while the key is held |
| Ortho viewer active | Switches to the main viewer first, then shows the visible image |
| Edge display active (reference = thermal) | Only the reference panel switches to the visible image |
This does nothing for pairs without a visible image, and nothing changes if the visible image is already displayed.
The 2 key is a regular mode switch that changes to the visible image each time it is pressed. Use whichever fits the situation.
Temperature at the cursor
Hover the mouse cursor over an infrared image and the temperature at that point is shown next to the cursor, e.g. 13.4°C. This is convenient for scouting before placing a measurement tool.
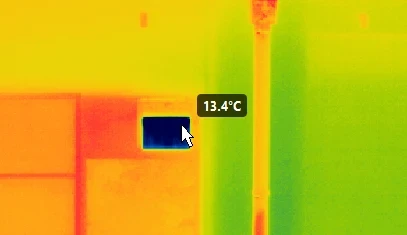
It works in the main viewer, the ortho viewer, and compare mode. No readout is shown for pixels without temperature data or pixels excluded by the temperature mask.
Dual view
Turn on View & organize ▾ → Dual View on the toolbar to open the Secondary Viewer in a separate window. This is useful for dual-monitor work and for screen sharing in meetings.
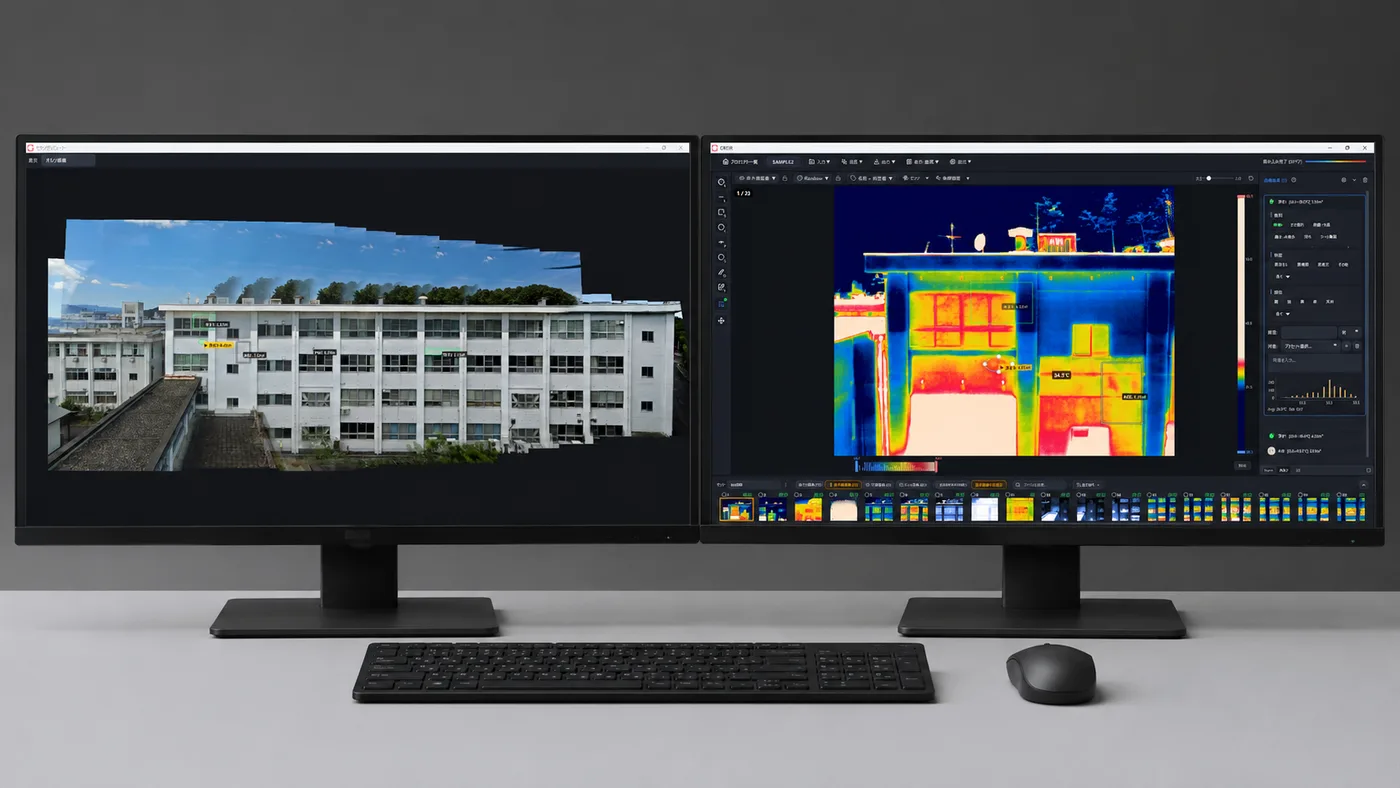
Use Show at the top of the window to choose what the Secondary Viewer displays.
| Show | Content |
|---|---|
| Visible Image | Visible-light image (default) |
| Infrared Image | Infrared image |
| Zoomed Image | Zoom image |
| Orthomosaic | Orthomosaic |
| Orthomosaic (Camera Frame) | Orthomosaic with camera frames |
| 3D View | 3D mesh (if generated) |
- The mouse position in the main window is mirrored on the secondary side as a crosshair cursor
- While showing the Visible Image, zoom and pan stay synchronized with the main viewer (not synchronized in side-by-side, zoom, or compare mode)
- The orthomosaic reflects the main ortho viewer's settings such as rotation, crop, colormap, and temperature range
Dual view cannot be enabled when no project is open. It closes automatically when you switch projects.